Medicare — Hospital & Medical Next.js + CMS Admin Dashboard Website Template

0 (0 Reviews)
0 Sales
License Options
View License Policy1 site / project / end product
up to 5 sites / projects / end products
up to 30 sites / projects / end products
Add-on Services
$99.00
$120.00
Technology
No title available : Medicare — Hospital & Medical Next.js + CMS Admin Dashboard Website Template


Created : 02 July 2026
Updated : 31 August 2026
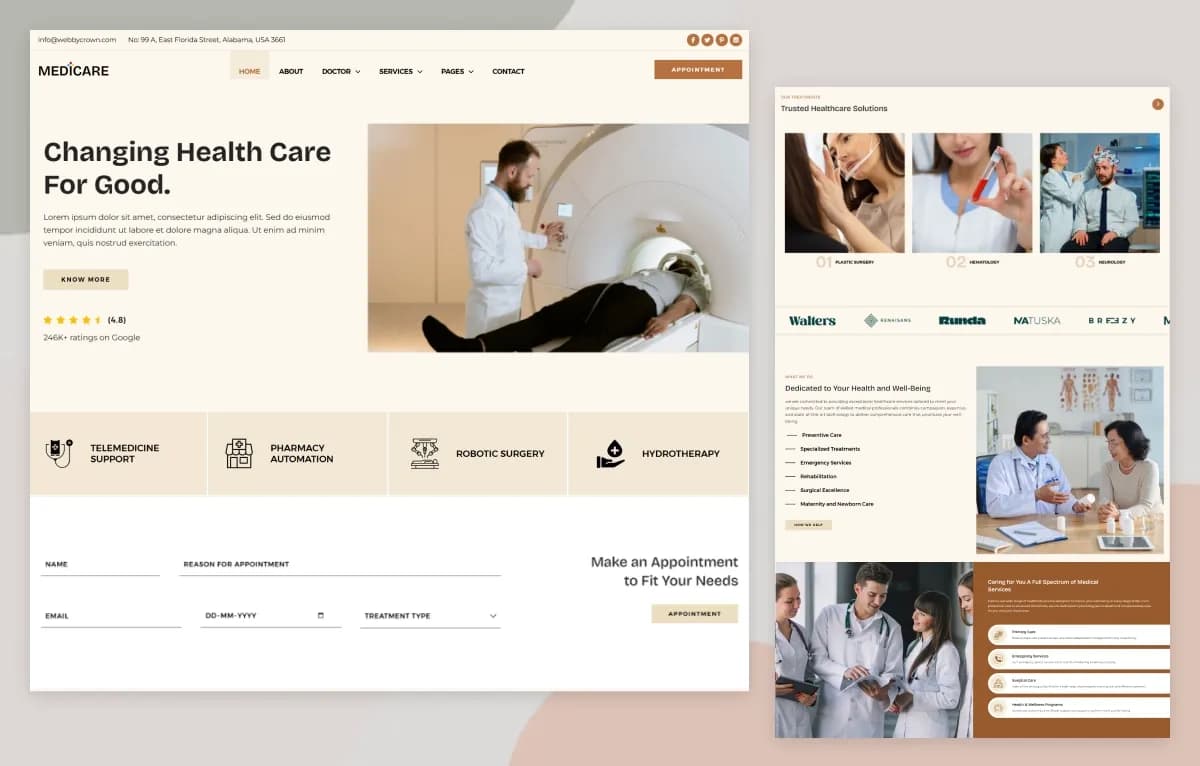
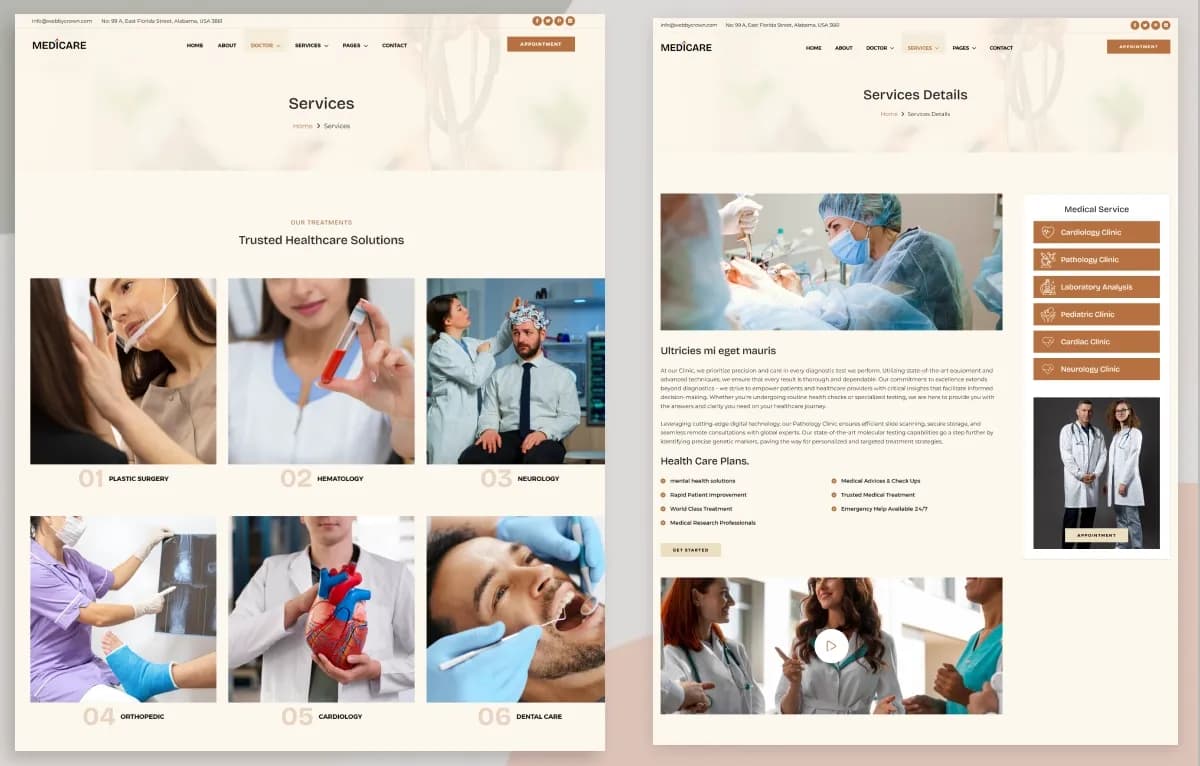
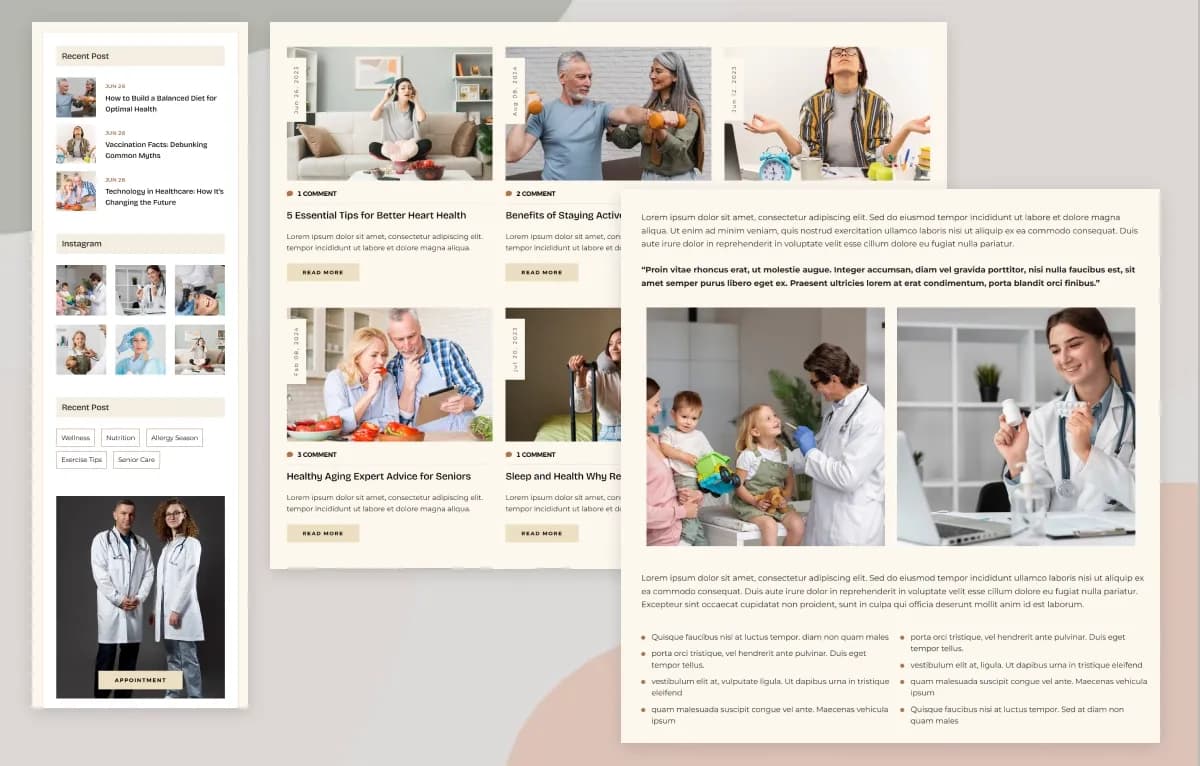
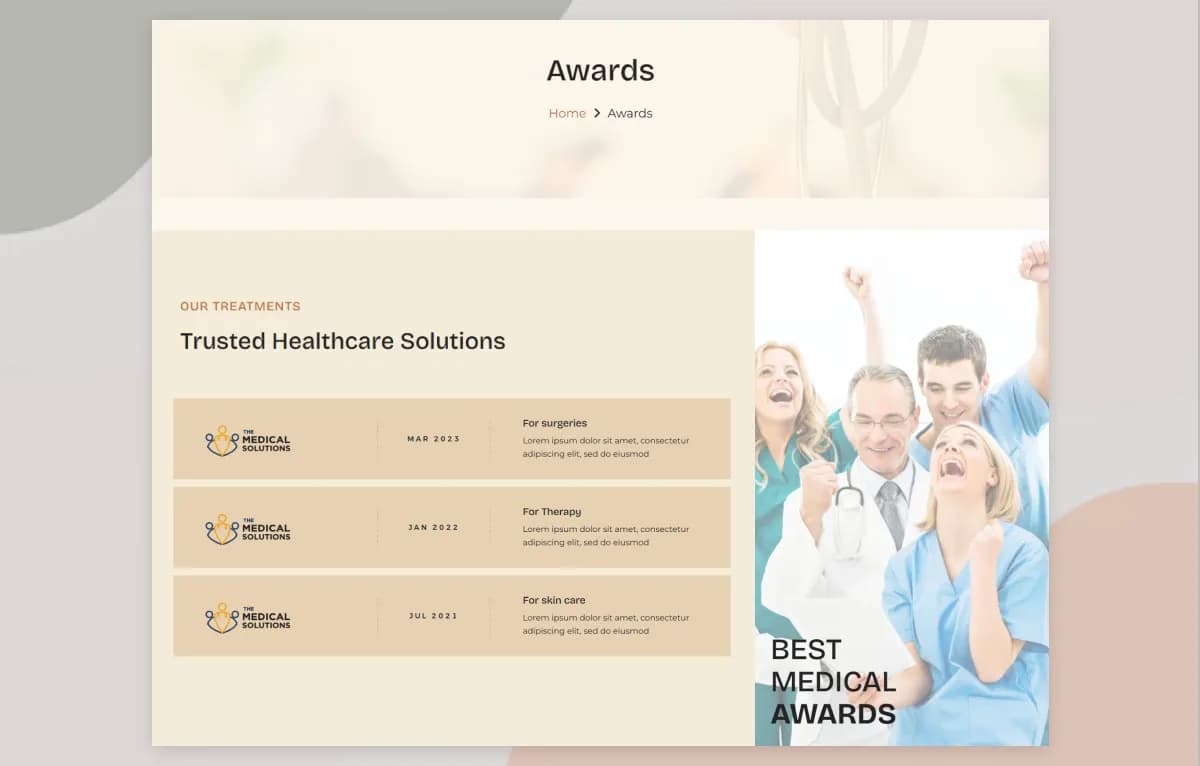
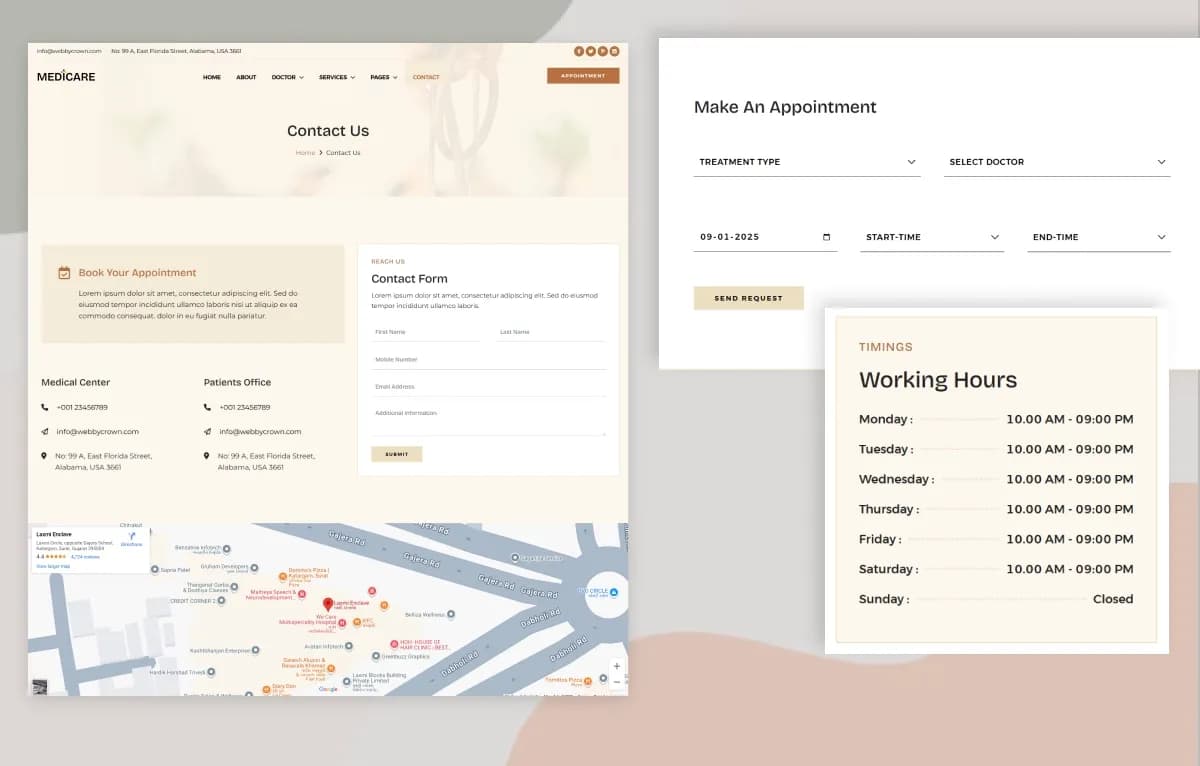
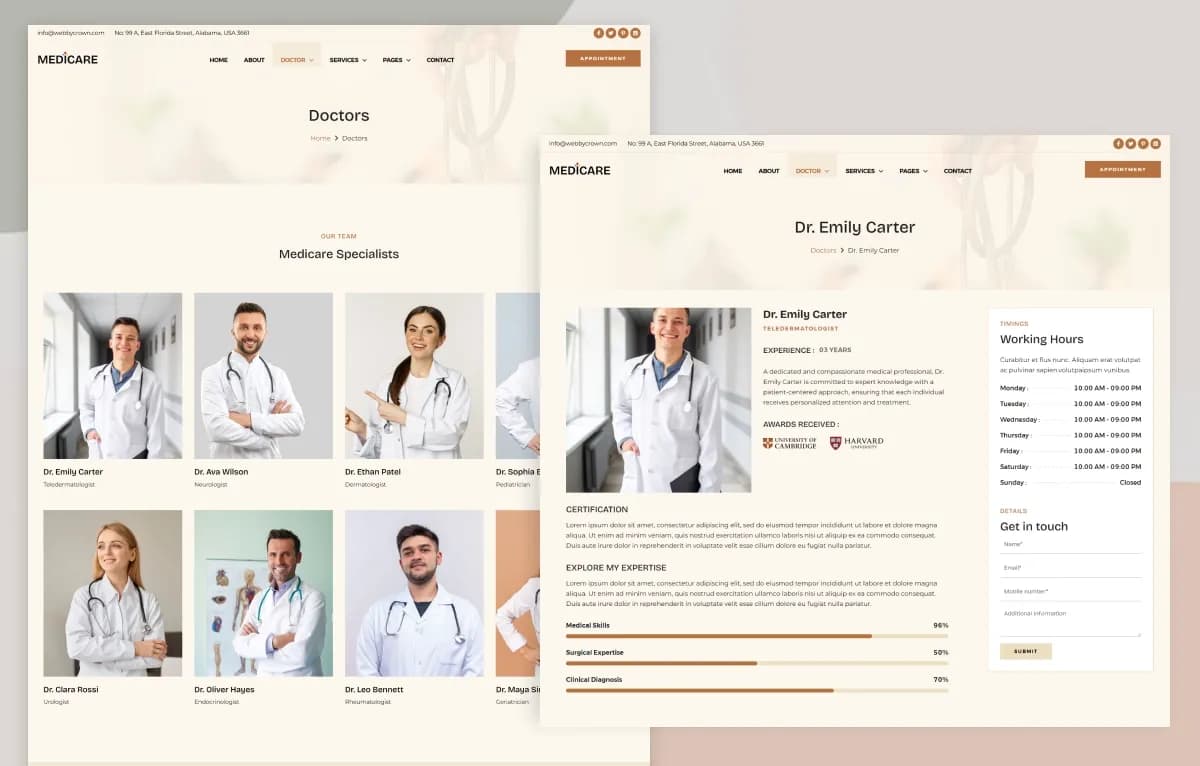
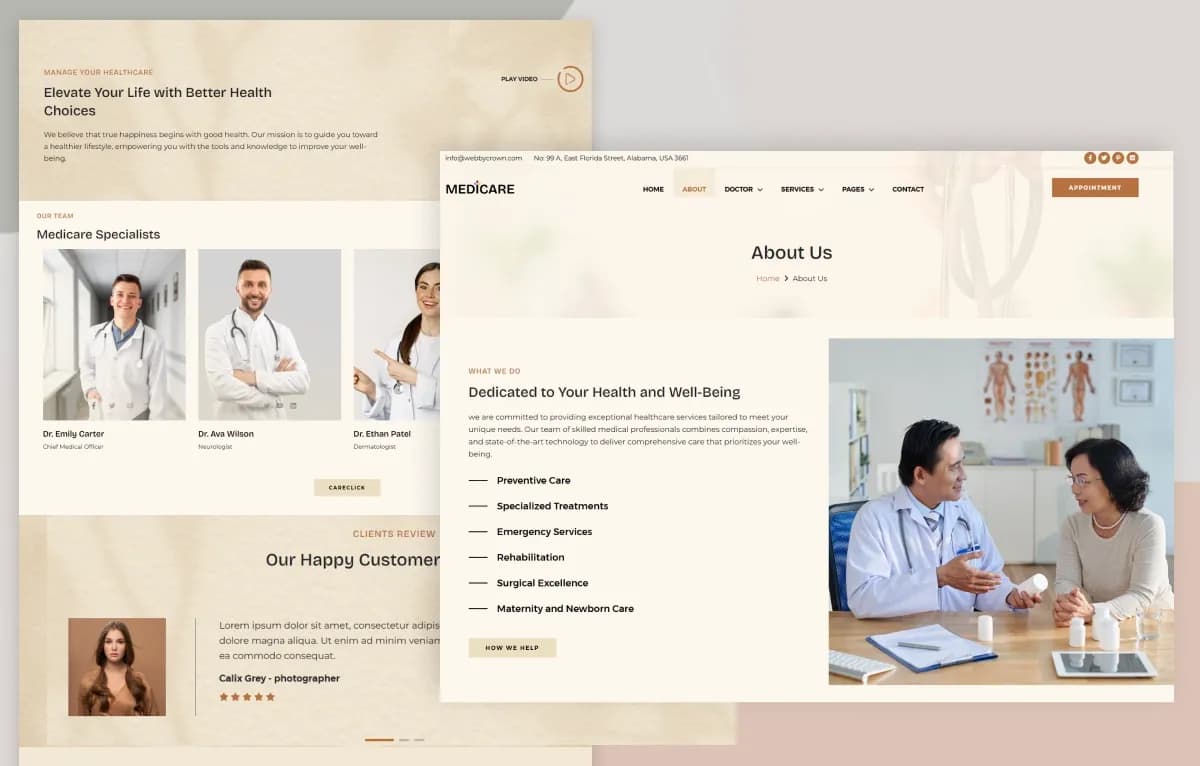
Medicare is a dynamic Medical Next.js CMS Website Template with 12+ ready-to-use pages, 37+ reusable frontend components, 58+ CMS admin dashboard components, and 16+ REST APIs. Built with Next.js 15+, React 19+, Node.js 20+, Tailwind CSS, Swiper Slider, and AOS Animation, it is designed for hospitals, clinics, doctors, dental centres, diagnostic centres, and healthcare service providers that need a content-managed website.
The package includes a Next.js frontend, CMS admin dashboard backend, REST APIs, dynamic content management, media library, role and permission management, database resources, documentation, installation guidance, demo content, and deployment guidance.
What Is Medicare?
Hospitals, medical clinics, diagnostic centres, dental practices, and healthcare providers often need more than a static website. They need a system where teams can update doctors, services, awards, blogs, appointment content, media, and core website pages through an admin dashboard without editing frontend code for every change.
Medicare is a Hospital & Medical Next.js Website Template with a CMS admin dashboard backend. It combines a Next.js 15+ frontend, dynamic CMS management, REST APIs, media library support, role and permission management, database resources, and reusable frontend components for building a content-managed healthcare website.
Who Is This Template For?
- Hospitals creating a modern healthcare website
- Medical clinics promoting doctors and services
- Dental clinics publishing treatment and appointment information
- Diagnostic centres presenting tests and healthcare facilities
- Healthcare service providers managing dynamic website content
- Doctor practices creating a professional online presence
- Pediatric clinics sharing child healthcare services
- Cardiology centres presenting specialist services
- Physiotherapy clinics promoting treatments and care programmes
- Medical consultants building a content-managed clinic website
- Healthcare startups launching a scalable website
- Agencies building medical and hospital websites for clients
- Developers needing a Next.js frontend with CMS dashboard functionality
This template requires Node.js, database, and deployment knowledge. It does not provide a patient medical-record system, verified appointment scheduling workflow, payment gateway, telemedicine system, or healthcare compliance configuration by default.
What Is Included?
Main Website Pages
- Home
- About
- Services
- Service Detail
- Doctors
- Doctors Details
- Appointment
- Awards
- Blog
- Blog Details
- Contact
- Error Page
Frontend and CMS Resources
- Complete Next.js source code
- Complete CMS admin dashboard backend
- 37+ frontend components
- 58+ dynamic CMS admin dashboard components
- 16+ REST APIs
- Dynamic CMS configuration
- Dynamic content management
- Dynamic components
- Dynamic collections
- Dynamic single types
- Media library
- Role and permission management
- Database resources
- Documentation
- Installation guide
- Demo content
- Deployment guide
How to Use Medicare
Step 1: Purchase and Download
Choose the Personal License, Commercial License, or Agency License that matches your healthcare website project and download the Medicare package.
Result: You receive the Next.js source code, CMS admin dashboard backend, frontend components, dashboard components, REST APIs, database resources, documentation, installation guide, demo content, and deployment guide.
Step 2: Prepare the Development Environment
Install Node.js 20+ and prepare the database environment specified in the included installation documentation.
Result: Your system is ready to install and run the Next.js frontend, CMS admin dashboard, REST APIs, and database workflows.
Step 3: Install Project Dependencies
Open the frontend and CMS project folders in your code editor, then follow the dependency-installation commands provided in the documentation.
Result: The required Next.js, React, Tailwind CSS, Swiper Slider, AOS Animation, CMS, API, and project dependencies are installed locally.
Step 4: Configure Environment and Database Settings
Add the required environment values, CMS access details, REST API settings, database configuration, and deployment variables described in the installation guide.
Result: The frontend, CMS dashboard, REST APIs, and database workflows are prepared for your local or production environment.
Step 5: Customize Healthcare Content
Update branding, colours, typography, doctors, healthcare services, awards, appointment content, blogs, contact details, media assets, user roles, permissions, and other dynamic content.
Result: The website begins to match your hospital, clinic, diagnostic centre, dental practice, healthcare provider, or client project.
Step 6: Test and Deploy
Test frontend pages, CMS workflows, REST APIs, role permissions, media uploads, database connections, responsive layouts, and deployment settings before publishing to Vercel, Netlify, AWS, DigitalOcean, VPS hosting, self-hosting, or Node.js servers.
Result: Your dynamic hospital or healthcare website and CMS dashboard are ready for production deployment.
Tags:
Template Features:
12+ Ready-to-Use Pages
37+ Frontend Components
58+ Dynamic CMS Admin Dashboard Components
16+ REST APIs
Fully Dynamic CMS Management