On this page
How to Warm Up Cache After Updating a WordPress Theme or Next.js Template
WebbyCrown Solutions-
June 1, 2026- 10 min read
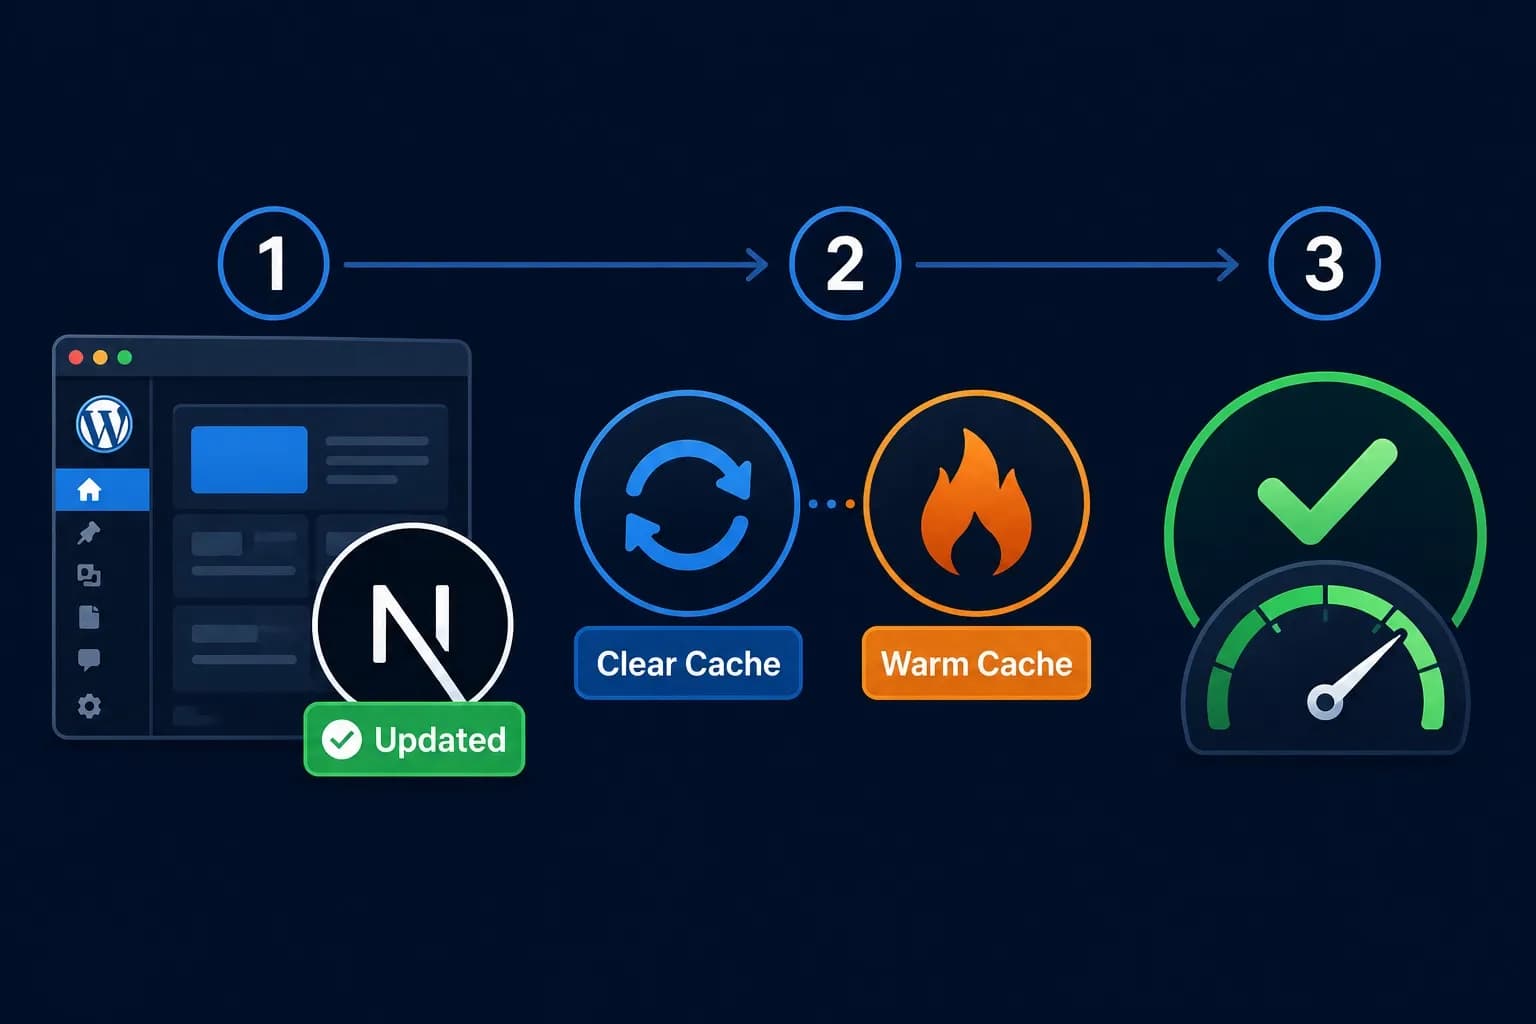
Quick Answer After updating a WordPress theme: clear the cache, then trigger preload through your cache plugin (WP Rocket, LiteSpeed Cache, or W3 Total Cache) under its Cache or Preload settings. After updating a Next.js template: redeploy your build, then send GET requests to your key routes through a sitemap crawler, a curl loop, or by calling Next.js's revalidatePath API. Verify the warmup worked by checking the response headers — x-cache: HIT, cf-cache-status: HIT, or x-vercel-cache: HIT confirm the page is now cached.
A theme or template update is one of the most common moments to find your site loading slowly. The update process typically clears the cache, and unless you warm it back up, every new visitor pays the cost of rebuilding each page from scratch.
If you have not yet decided between manual and automated warmup, the Manual vs Automated Cache Warmup comparison addresses that decision. This post assumes you have just completed an update and need the exact steps to warm the cache now.
Before You Start: Confirm the Update Cleared Your Cache
Most theme and template updates clear the cache automatically, but not all do. Before warming, verify the cache is actually empty — otherwise you may be warming pages that are still serving stale content.
Quick check for any site:
1. Open your site in an incognito browser window
2. Open developer tools and look at the network tab
3. Reload the homepage and check the response headers for any of these:
- x-cache: MISS — cache is empty for this page (ready to warm)
- x-cache: HIT — cache still has the old version (clear it first)
- cf-cache-status: MISS or HIT — same logic, but at the Cloudflare edge
- x-vercel-cache: MISS or HIT — Vercel edge cache status
If any cache shows HIT and you just updated your theme or template, manually clear the relevant cache layer first, then proceed with warmup.
How to Warm Up Cache After Updating a WordPress Theme
The process depends on which cache plugin you use. Below are the four most common scenarios — pick the one that matches your setup.
Method 1: Using WP Rocket (Premium Plugin)
WP Rocket includes an automatic preload feature that runs after a cache clear. After updating a theme:
1. In your WordPress dashboard, navigate to Settings → WP Rocket
2. Click the Dashboard tab and select Clear and Preload Cache
3. WP Rocket will clear the existing cache and immediately begin crawling your sitemap to rebuild it
4. Monitor progress under the Preload tab — the queue shows pages remaining to warm
Wait for the preload counter to reach zero before announcing the update or triggering a marketing campaign
According to WP Rocket's preload documentation, the crawler visits each URL from your XML sitemap in sequence to generate and store cached versions. If preload does not start automatically, check that Preload Cache is enabled under WP Rocket → Preload → Activate Preloading.
Method 2: Using LiteSpeed Cache (Free Plugin)
LiteSpeed Cache's free version includes a built-in crawler. After updating a theme:
1. Navigate to LiteSpeed Cache → Toolbox in your WordPress dashboard
2. Click Purge All to clear the existing cache
3. Navigate to LiteSpeed Cache → Crawler
4. If the crawler is not yet enabled, enable it under Crawler Settings
5. Click Run Manually to begin warming immediately, or wait for the next scheduled run
LiteSpeed's Crawler documentation covers how to configure crawler frequency, threading, and exclusion rules. Be aware that the crawler is disabled on many shared hosting plans by default — if it does not run, contact your host to enable it.
Method 3: Using W3 Total Cache (Free Plugin)
W3 Total Cache uses a sitemap-based preload approach. After updating a theme:
1. Navigate to Performance → Dashboard in WordPress
2. Click Empty All Caches
3. Navigate to Performance → Page Cache
4. Scroll to the Preload section
5. Confirm your sitemap URL is set correctly (usually /sitemap.xml or /sitemap_index.xml)
6. Click Update Settings & Preview Cache
7. The preload will run on the schedule you configured, or you can trigger it immediately by clicking Preload the post cache upon publish
Method 4: Manual Warmup Without a Cache Plugin
If you do not use a cache plugin — or your plugin's preload feature is unavailable — you can warm the cache manually with a curl loop or a desktop crawler. For broader performance improvements, review these website optimization tips for template-based sites
Using curl from the command line:
# Replace example.com with your domaincurl -s -o /dev/null -w "%{http_code} %{url_effective}\n" \https://example.com/ \https://example.com/about/ \https://example.com/services/ \https://example.com/contact/Add each important URL to the list. Each request triggers a server build and stores the result in cache.
Using Screaming Frog SEO Spider (free tier covers up to 500 URLs):
1. Open Screaming Frog
2. Enter your sitemap URL or your homepage URL in the address bar
3. Start the crawl — the tool will visit every linked page
4. Each visit triggers a server-side render that gets stored in cache
For sites with more than 20 important pages, Screaming Frog is faster than a manual curl list because it follows internal links automatically.
How to Warm Up Cache After Updating a Next.js Template
Next.js cache warmup involves both the framework-level cache (for ISR and SSR routes) and the CDN edge cache (typically Vercel's edge network or Cloudflare). After updating a Next.js template:
Step 1: Confirm Your Deployment Completed
1. Push your code changes to your repository or trigger a manual deployment
2. Wait for the build to finish (Vercel, Netlify, or your hosting platform shows build status in their dashboard)
3. Verify the deployment is live by visiting the site
A successful deployment does not automatically warm SSR or ISR routes — those caches start cold per region until requested.
Step 2: Choose Your Warmup Method
Option A — Sitemap crawl with curl:
# Extract URLs from sitemap and request each onecurl -s https://example.com/sitemap.xml | \ grep -oP '(?<=<loc>)[^<]+' | \ while read url; do curl -s -o /dev/null -w "%{http_code} $url\n" "$url" sleep 1 doneThe sleep 1 between requests prevents overwhelming your origin server.
Option B — Programmatic revalidation with Next.js APIs:
Next.js provides revalidatePath and revalidateTag APIs that proactively refresh cached pages. Create a revalidation API route:
// app/api/revalidate/route.jsimport { revalidatePath } from 'next/cache';export async function POST(request) {const { path, secret } = await request.json();if (secret !== process.env.REVALIDATE_SECRET) {return Response.json({ error: 'Invalid token' }, { status: 401 }); }revalidatePath(path);return Response.json({ revalidated: true, path });}After deployment, call the API for each important path:
curl -X POST https://example.com/api/revalidate \ -H "Content-Type: application/json" \ -d '{"path": "/", "secret": "your-token"}'Option C — Screaming Frog crawl:
The same Screaming Frog approach described in the WordPress section works for Next.js sites. Point the crawler at your sitemap or homepage and let it visit every page.
Step 3: Confirm Edge Cache Is Warm
If you deploy through Vercel, check the x-vercel-cache response header on a second request to the same URL. The first request after deployment typically returns MISS (cache filling), and subsequent requests should return HIT.
According to Vercel's Edge Network caching documentation, responses are cached at the edge when your cache headers (s-maxage, stale-while-revalidate) are configured. If you see MISS repeatedly even after warmup, check that your cache headers are set correctly on the response.
How to Verify Cache Warmup Worked
After running warmup on either platform, verify the cache is now warm by inspecting HTTP response headers.
Method 1: Browser developer tools
1. Open the page in an incognito or private window
2. Open developer tools (F12) and switch to the Network tab
3. Reload the page
4. Click the document request (usually the first row)
5. Look at the Response Headers section for any of these:
- x-cache: HIT
- cf-cache-status: HIT (if behind Cloudflare)
- x-vercel-cache: HIT (if on Vercel)
- x-litespeed-cache: hit (if using LiteSpeed)
- x-rocket-cached: hit (if using WP Rocket)
A HIT response confirms the page is being served from cache.
Method 2: External speed test tools
Run two consecutive tests on a tool like GTmetrix or Google PageSpeed Insights and compare TTFB:
1. First test should show a higher TTFB if the cache was cold
2. Second test should show a noticeably lower TTFB if warmup worked
3. The difference should be consistent across multiple page tests
Method 3: Command-line curl with timing
curl -o /dev/null -s -w "TTFB: %{time_starttransfer}s\n" https://example.com/Run this twice. The second response should be significantly faster — typically under 200ms if the cache is warm.
What to Do If the Cache Will Not Warm Up
If your warmup process completes but pages still appear slow or return MISS headers, work through this checklist:
1. Confirm caching is actually enabled. Check your plugin or framework settings — caching may have been disabled during the update process
2. Check for cookie-based cache bypass. Many cache plugins skip caching for logged-in users or pages with session cookies. Test in an incognito window
3. Look for query strings. URLs with query strings (?utm_source=...) often bypass cache by default. Configure your plugin to ignore tracking parameters
4. Verify cache headers. For Next.js and CDN setups, missing or incorrect cache-control headers prevent caching at the edge layer
5. Check for plugin conflicts. Two cache plugins running simultaneously create unpredictable behavior — disable all but one
6. Confirm the sitemap is current. A stale sitemap means new pages will not be warmed; regenerate the sitemap after major updates
7. Review hosting cache layers. Some managed WordPress hosts (Kinsta, WP Engine, SiteGround) have their own caching that runs independently of plugins; their dashboards typically include a manual purge and warmup option
How Long Does Post-Update Cache Warmup Take?
The duration depends on your site size, hosting performance, and warmup method:
| Scenario | Approximate Warmup Time |
|---|---|
| Small WordPress site (under 30 pages) with plugin preload | 1 – 3 minutes |
| Medium WordPress site (30 – 150 pages) with plugin preload | 5 – 15 minutes |
| Large WooCommerce store (500+ product pages) | 30 – 90 minutes |
| Next.js site (under 50 routes) with sitemap crawl | 2 – 10 minutes |
| Next.js site with 200+ ISR routes | 15 – 45 minutes |
For most sites, the warmup completes faster than the original deployment. You can begin announcing updates or driving traffic as soon as your most important pages (homepage, core landing pages, top products) are warmed — secondary pages will warm naturally as visitors arrive.
In Short
After a WordPress theme update, clear the cache and trigger preload through your cache plugin's interface — WP Rocket, LiteSpeed Cache, and W3 Total Cache all include this in their dashboard. After a Next.js template update, redeploy your build and use a sitemap crawl, curl loop, or revalidatePath API call to warm the edge cache. In either case, verify the warmup worked by checking response headers for a HIT status before announcing the update or driving traffic.
The full warmup typically takes 1 to 15 minutes for small to medium sites. Your most important pages — homepage, core service pages, top products — should always be warmed first, with secondary pages allowed to warm naturally as visitors arrive.
FAQs
Q1.
Do I need to clear the cache before warming after a theme update?
Usually yes. Most cache plugins clear and preload as a combined action ("Clear and Preload" in WP Rocket, "Purge and Crawl" in LiteSpeed), but if you used a custom workflow, manually clear the cache first to ensure the warmup populates with the new theme files rather than re-warming the old ones.
Q2.
Can I warm the cache before the WordPress update is complete?
Q3.
Does updating a Next.js component require a full cache warmup?
Q4.
What happens if I skip the warmup after an update?
Q5.
Can I automate this whole process?
Q6.